Use our custom template for hyper-efficient collaborative prototyping.
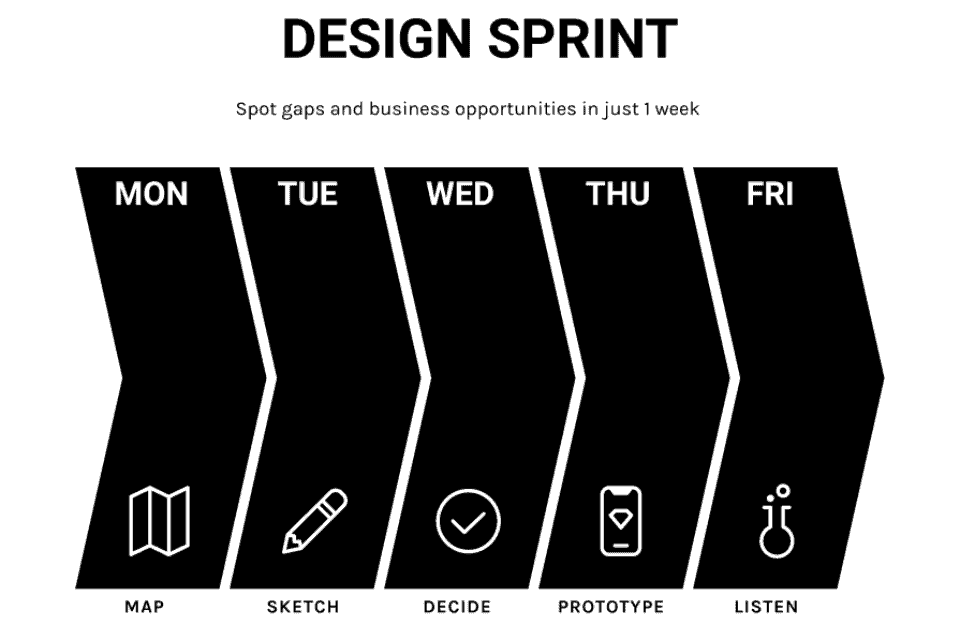
Previously, I wrote about how our team at Voltage Control has evolved the role of the Stitcher in our Design Sprints. The Stitcher 2.0 acts like the “scrum master” for the prototype created during the sprint. They make sure that tasks are moving along and that all assets are organized in a way that is easy for the makers to pull into the prototype.
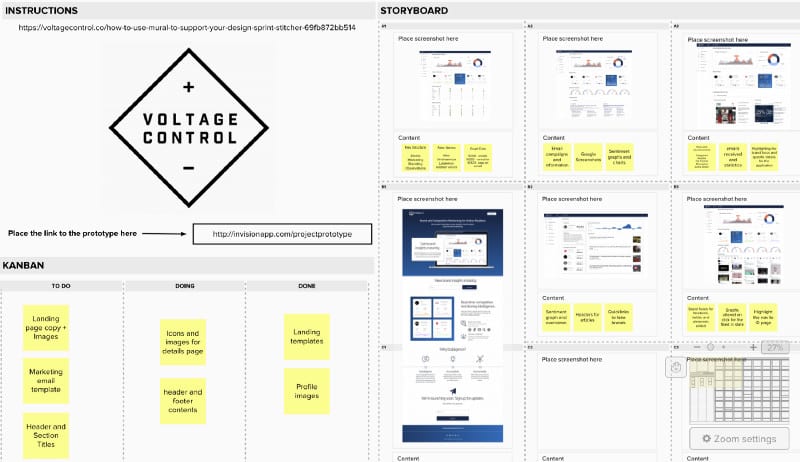
We’ve created a custom Mural template that helps the Stitcher work alongside the team to organize and gather the Design Sprint assets during prototyping.
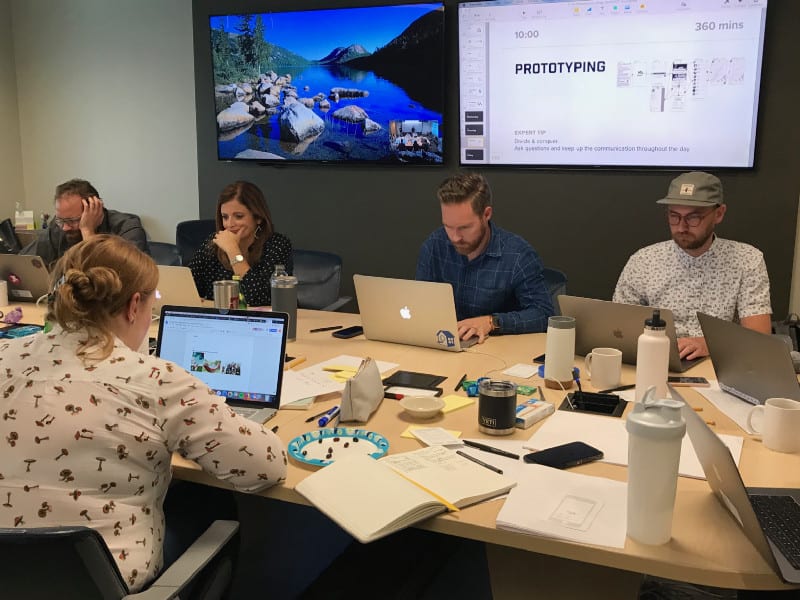
This approach unleashes the entire Design Sprint team and supports everyone contributing in an efficient and productive manner. It is especially helpful if you are bringing in extra help on prototyping day as it allows them to get up to speed and begin contributing quickly. In fact, we recommend using this approach whenever you are prototyping with numerous people and need results in a short amount of time.
To support the Stitcher, we’ve created a custom Mural template that helps them organize and gather the assets in one spot. (If you haven’t used Mural yet, it’s a collaborative virtual white board tool and we find it invaluable during sprints.)

Access our template here and read below to learn how we use our Mural.

Setting up the Mural
- Open the Mural template.
- Click the “Create mural from template” button to make your own copy.
- Unlock storyboard grid. Right click and select “Unlock All”
- Expand the storyboard grid to include all cells if you have more than 6 rows or 8 columns in your story board.
- Lock the storyboard grid. Select all elements then right click and select “Lock.”
- Add your To-Dos. Create a new post-it in the To-Do column of the Kanban for each To-Do. Pro-Tip: To-Dos should reference cell numbers. i.e. A1: Hero copy.
- Assign To-Dos to team members. Use specific color for each team member or type in team member name on each post-it. Allow the team members to volunteer for jobs they are most interested in.
- Invite your team to the mural. Click the share button and enter in each Sprint team member. Make sure to give them edit privileges.
Using the Mural
- Find the post-it in the To-Do column for your first task. It should be in your color or have your name on it.
- Move that post-it to “In progress.”
- Complete your task.
- Add completed copy to a new post-it and attach it to the appropriate storyboard grid cell.
- Upload assets (images/icons/video) to the appropriate storyboard grid cell. Pro Tip: Do not scale down assets because it may cause loss of fidelity when the Stitcher adds it to the prototype.
- Move your task post-it to “Done.”
- The Stitcher will collect and assemble official copy and mark it approved by setting the color of the post-it to green.
- The Prototyper pulls in all approved copy and assets.
- Upload screenshots of screens that are ready for feedback.
- Team will place Mural comments directly onto the screenshots.
- Once the screens are linked together and ready for playback, add the prototype link to Mural for easy access by the team.
- Playback the prototype for the team.
- Capture new tasks by adding new post-its in the To-Do column.
- Add comments on the screenshots for revisions or using your prototyping tools comments.
- Repeat steps as needed.
I hope you find our Mural template helpful during your next Design Sprint or rapid prototyping session. Get it here and let us know how you like it. Happy sprinting!